

Mastering TavernAI with PygmalionAI Locally: A Quick Tutorial
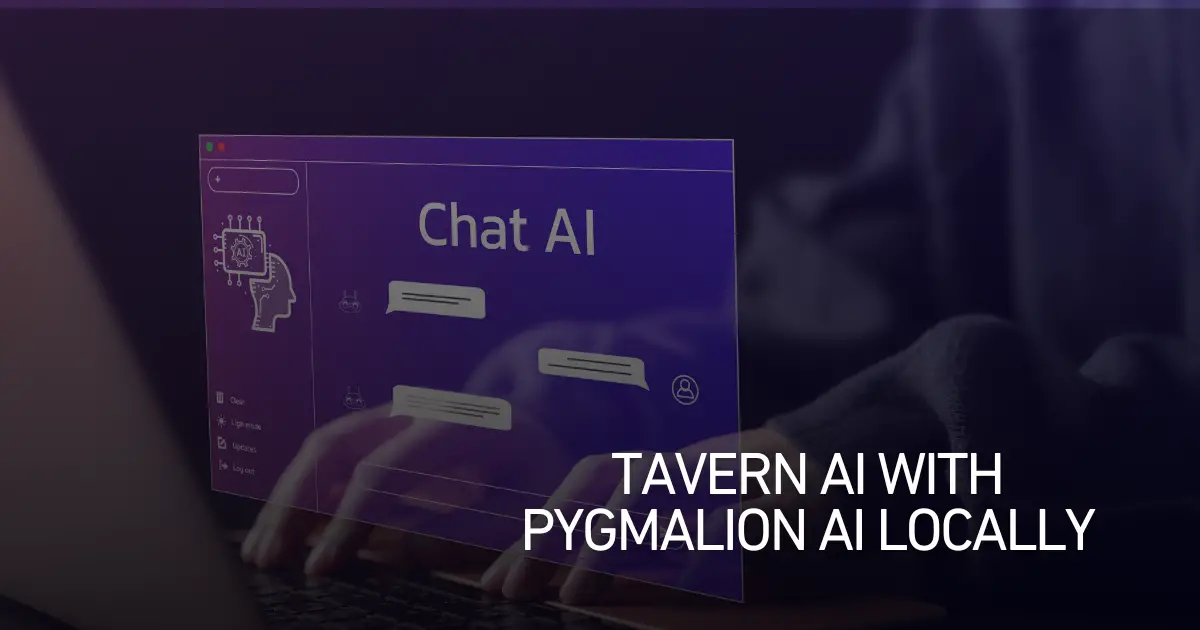
TavernAI, powered by PygmalionAI, is a revolutionary platform offering immersive chat experiences. In this tutorial, we’ll delve deep into setting up TavernAI on Windows, coupled with PygmalionAI, to create engaging conversational characters. Let’s embark on this journey to unlock the full potential of TavernAI.
Use TavernAI with PygmalionAI Locally in 8 Steps
Step 1: Obtaining TavernAI Client
To kickstart our journey, we need to acquire the TavernAI client. You can download it directly or access it via GitHub. Once downloaded, extract the files to a secure location for easy accessibility.
Step 2: Installing Node.js
TavernAI relies on Node.js to function seamlessly. Install Node.js from the official website. This step ensures that Tavernai operates optimally on your system.
Step 3: Initializing TavernAI
Navigate to the TavernAI directory and execute the Start.bat file. If successful, a command prompt window should appear, indicating the initiation of TavernAI. Take note of the provided URL http://127.0.0.1:8000 to access TavernAI via your preferred web browser.
Step 4: Connecting TavernAI to Backend
TavernAI requires a backend connection to function effectively. Access the settings menu by clicking on the menu located at the top right corner. Proceed to the Settings tab.
Step 5: Integration with Kobold AI
For local integration, we’ll focus on connecting TavernAI with KoboldAI. Ensure Kobold AI is running, and load the desired PygmalionAI model within the KoboldAI interface.
Step 6: Establishing Connection
Retrieve the URL of Kobold ai (default: http://localhost:5000/) and return to Tavern ai settings. Paste the URL into the designated API URL box and click on Connect. Upon successful integration, a green indicator alongside PygmalionAI version should be displayed.
Step 7: Character Customization
Personalize your TavernAI experience by customizing your character. Navigate to the Character tab and create a new character. Customize attributes such as name, description, personality, and even upload a custom picture.
Step 8: Engaging with Characters
With your character configured, initiate conversations by selecting the desired character from the list. Engage in immersive chats that are saved locally for future reference.
Conclusion
Congratulations on mastering Tavern AI with Pygmalion AI Locally! You’re now equipped to create captivating conversational experiences effortlessly. Explore the myriad possibilities, unleash your creativity, and enjoy the journey of crafting memorable interactions in the virtual realm. Remember, the only limit is your imagination. Cheers to endless adventures in TavernAI!