


Img2Img in Stable Diffusion: A Step-by-Step Guide

For those without natural artistic talents, there’s no need to worry! The combined power of Img2Img and Stable Diffusion offers a solution that can enhance your artwork while preserving its original color and composition. This remarkable AI-driven tool has the ability to elevate even the simplest sketches into visually captivating masterpieces.
In this comprehensive guide, we will lead you through the process of setting up the software, utilizing the color sketch tool, and harnessing the potential of Img2Img to transform amateur sketches into professional-grade artwork.
Understanding Img2Img in Stable Diffusion
Img2Img represents an advanced methodology that generates fresh images from an input image combined with a corresponding textual prompt.
The beauty of Img2Img within the context of Stable Diffusion is that the generated output image retains the essence of the original image in terms of color and composition.
It is essential to recognize that the input image doesn’t require complexity or visual appeal. The primary emphasis should be on color and composition, as these attributes are transferred to the final result.
Setting up the Stable Diffusion Img2Img Software
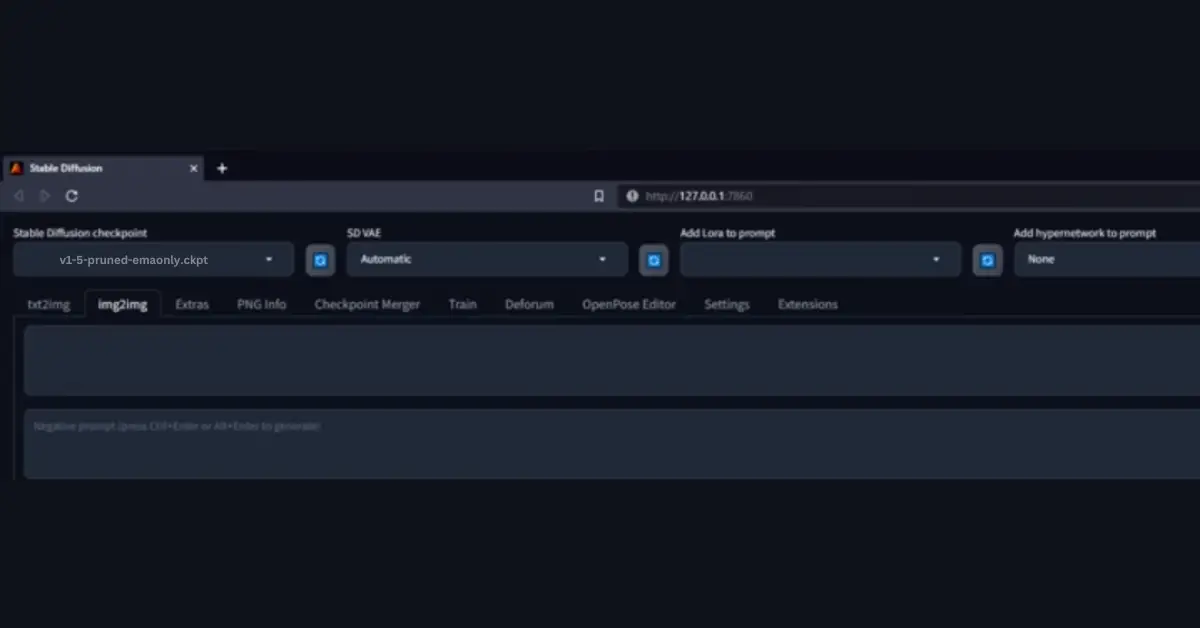
For this instructional, we will employ the user-friendly AUTOMATIC1111 GUI, renowned for its intuitive interface when it comes to the Img2Img process. Now, it’s time to enable the color sketch tool, which allows for drawing or adding an image as a reference. Initially, the AUTOMATIC1111 GUI does not enable the color sketch tool by default. However, activating it considerably streamlines the Img2Img process.
Here’s how you can enable the color sketch tool:
Webui.py
For webui.py execution, include the following argument: --gradio-img2img-tool color-sketch
Windows
On Windows systems, edit the webui-user.bat file within the stable-diffusion-webui folder. Modify the line: "set COMMANDLINE_ARGS=" to "set COMMANDLINE_ARGS=--gradio-img2img-tool color-sketch"
Ensure there’s a space before appending the new text. Double-click the file to initiate the GUI.
Colab
In the Colab Notebook, this option is enabled by default.
Use Color Sketch
Subsequent to configuring the color sketch tool, it’s time to grasp its usage. To utilize the color sketch tool, adhere to these steps:
- Access the Img2Img section within the AUTOMATIC1111 GUI and upload an image onto the canvas.
- Click the color palette icon, then the solid color button. Subsequently, the color sketch tool should become visible.
- You are now equipped to create colorful sketches, introducing vibrancy and depth to your artwork.
A Step-by-Step Guide on How to Use Img2Img in Stable Diffusion
Having set up the software and familiarized ourselves with the color sketch tool, let’s now delve into the process of converting a basic sketch into a professional masterpiece.
Step 1: Establish the Background
Initiate the process by uploading a black or white 512×512-pixel background onto the canvas. This serves as the foundation for your artwork.
Step 2: Create the Image
Using the color palette tool, sketch the concept. Concentrate on capturing the essence of color, form, and overall composition, prioritizing these aspects over intricate details.
Step 3: Apply the Img2Img Technique
With your sketch in place, it’s time to employ the Img2Img methodology. Follow these steps:
- From the Stable Diffusion checkpoint selection, choose v1-5-pruned-emaonly.ckpt.
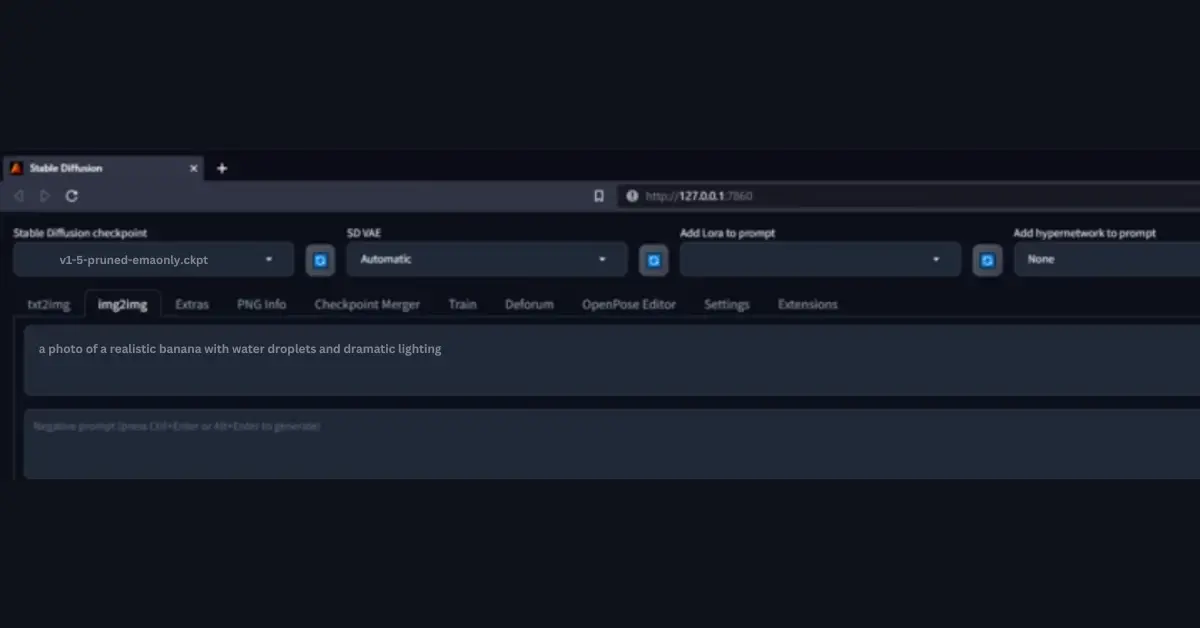
- Formulate a descriptive prompt for your image, such as “a photo of a realistic banana with water droplets and dramatic lighting.”
- Enter the prompt into the text box.
- Configure the image dimensions to 512×512, sampling steps to 20, sampling method to DPM++ 2M Karras, batch size to 4, and seed to -1 (random).
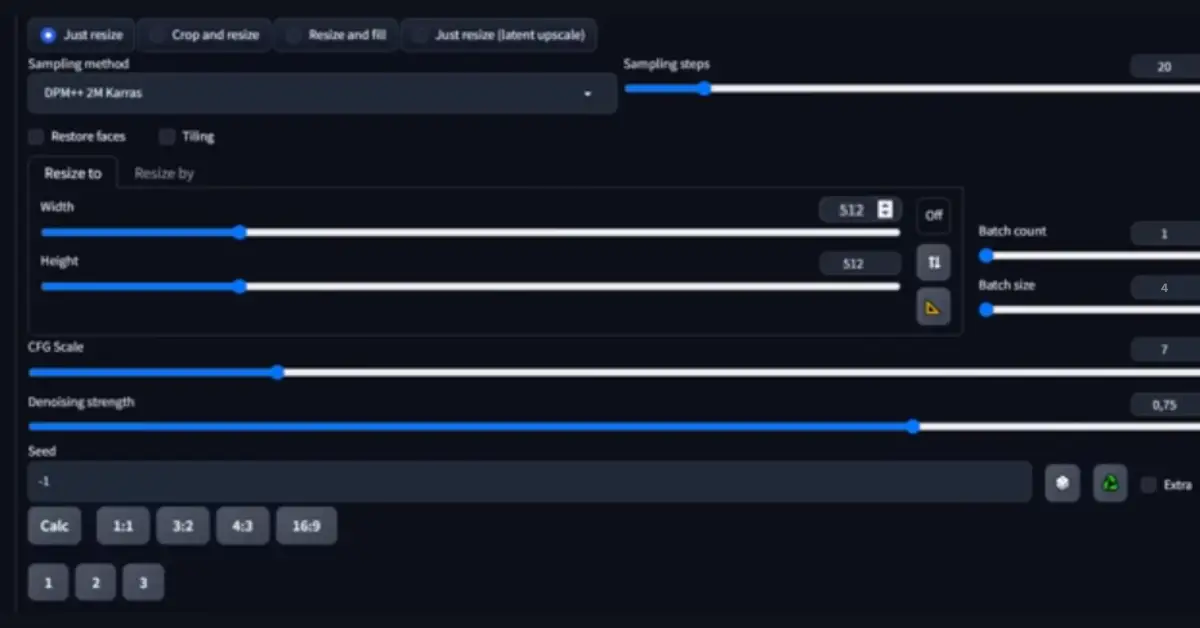
- Experiment with the CFG scale and denoising strength to attain your desired transformation level.
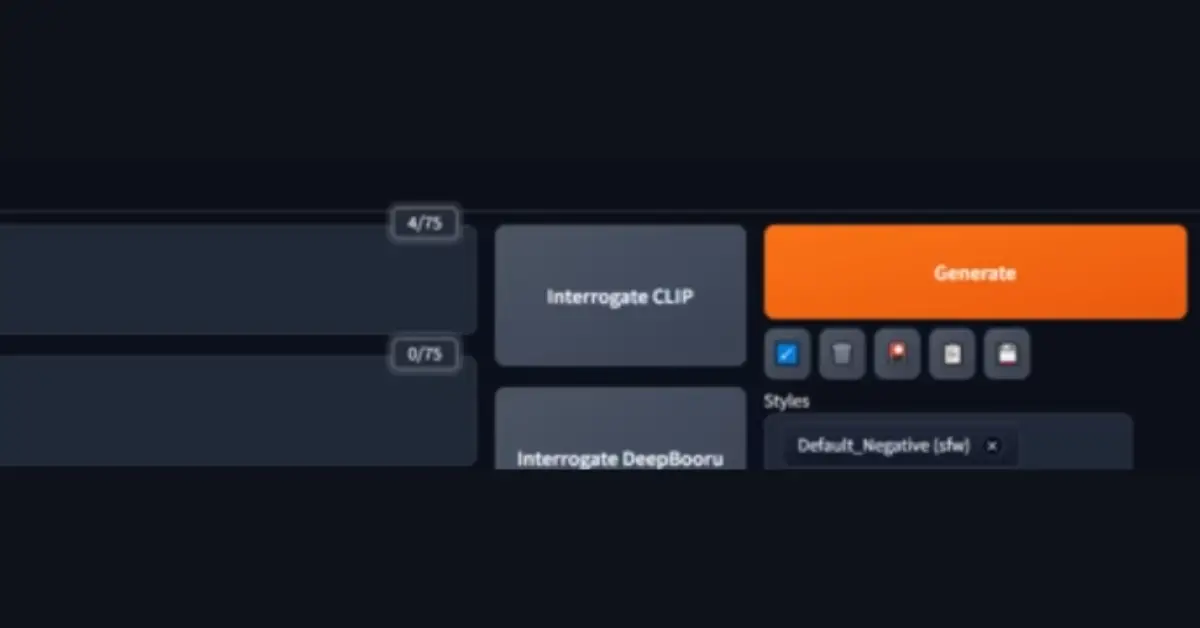
- Click the Generate button to create four new images based on your input sketch and prompt. Examine the results and save your preferred image.
Note: For further refinement and increased detail, consider a second round of Img2Img. Also, refer to the tutorial below for deeper insights into how Img2Img operates within Stable Diffusion.
Conclusion
Img2Img, powered by Stable Diffusion, offers users a versatile and efficient approach to altering an image’s composition and colors. This method provides users with more control compared to traditional text-to-image techniques.
By adhering to this comprehensive guide, even those new to drawing can effortlessly transform their initial sketches into high-quality, professional artworks.


Whats up this is kinda of off topic but I was wondering if blogs use WYSIWYG editors or if you have to manually code with HTML. I’m starting a blog soon but have no coding knowledge so I wanted to get advice from someone with experience. Any help would be enormously appreciated!
Are you considering WordPress for your blog? It typically offers user-friendly editing without requiring coding expertise.